MSVC Crossplatform Development Part 5
Android Native App To test the android library, we’ll add another application. Android Native Applications are running in an OpenGL loop. Without extra libraries we’re a bit limited here. We cannot easily show text on a screen, for example. For simplicity’s sake, we’ll just send some output to the logs here.
In the solution Explorer, Right-click the Test folder and choose:
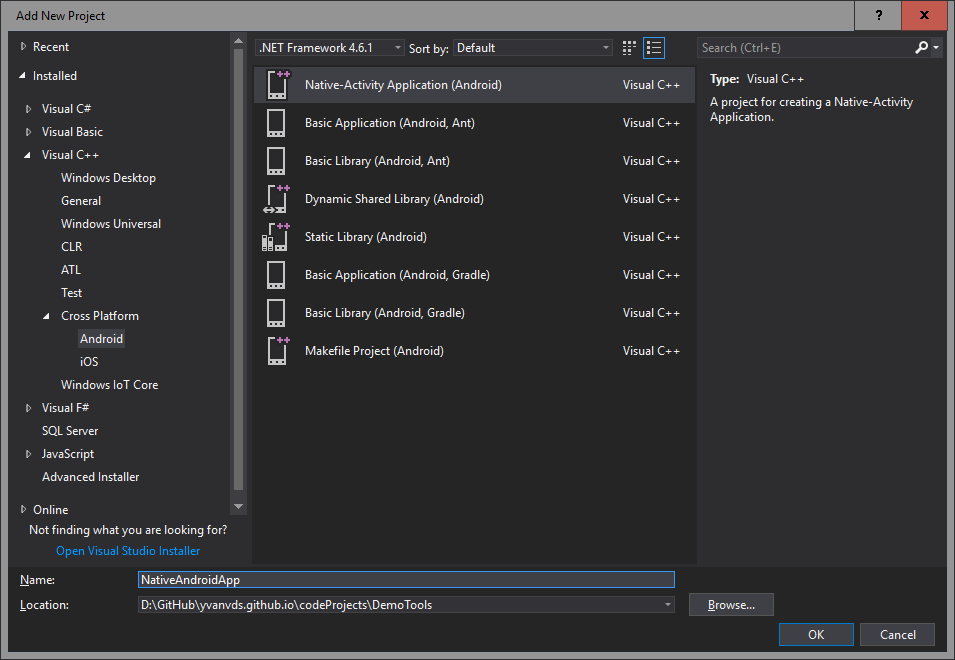
Add -> New Project ->Visual C++ -> Cross Platform -> Android -> Native-Activity Application (Android)
Name the project NativeAndroidApp
Project Properties
Again, change the Project Properties (Note the extra $Platform variable in this case):
Project Properties -> Configuration Properties -> General
First select All Configurations and All Platforms. Change
- Output Directory:
$(ProjectDir)\$(Configuration)\$(Platform)\ - Intermediate Directory:
$(ProjectDir)\$(Configuration)\$(Platform)\Intermediate\
Android Native Apps can be a bit tricky to get running. Before we start adding our library, let’s make sure it runs as it is. The new project actually has two different parts. My first mistake was to try and run the top-most project (AndroidNativeApp.NativeActivity). That’s wrong. You should mark AndroidNativeApp.Packaging as the startup project.
Another mistake I sometimes make is the platform. If ‘AnyCPU’ is selected, you won’t see your Android device listed. Change it to ARM before you connect your phone.
After the first successful run, open the NativeActivity project properties. Go to C/C++ -> General and change Additional Include Directories to:
$(Sysroot)\usr\include;..\..\DemoTools;$(StlIncludeDirectories);%AdditionalIncludeDirectories)
Where DemoTools is the location of your shared project. Since both projects are within another folder, you will need to go two levels up for the correct relative location.
Note: you can set these options for all configurations and platforms at once. The original seems different, but the only difference is a missing semicolon.
In the NativeActivity project, add a reference to the dynamic library project DemoTools.Android.Native.
Application Code
Adding text and buttons in an OpenGL application is beyond the scope of this series. We’ll just use the provided logging functions to test our library.
In main.cpp, add these includes:
#include "Counter.h"
#include "PlatformID.h"
#include <string>
#include <sstream>
In the function android_main, below engine.animating = 1;, add:
DemoTools::PlatformID ID;
std::string out = ID.Get();
LOGI(out.c_str());

DemoTools::Counter counter;
Further down, after the while loop starts, add:
DemoTools::MainCounter() = DemoTools::MainCounter() + 1;
if (DemoTools::MainCounter().Get() > 10) {
    DemoTools::MainCounter().Reset();
    counter = counter + 1;
    std::ostringstream s;
    s << "Counter: " << counter.Get();
    out = s.str();
    LOGI(out.c_str());
}
Note that at this point the application will crash when you try to run it. The best explanation I could find was in this post. There is clearly something wrong with the android library implementation in Visual Studio. In short:
- If you create a dynamic library and link it to a native application, it will crash.
- If you create a static library and link it to a native application, it won’t get linked.
- If you create a dynamic library, change it to static and link it to a native application, everything works.
This is far from ideal. Depending on what your intentions are, you can choose which path to take. For this sample project I will just leave it at this. We need the dynamic library later on. If you’d like to test the native app, try this:
- Open the library properties and select the General tab.
- Change target extension to .a
- Change Configuration Type to Static Library (.a)
You might need to rebuild the library after changing this. Don’t forget to change back to a dynamic library after testing, because we’ll need this project later on.
To see if this works you could either open logcat or set a breakpoint and check the value of the output string.
Leave a Comment